


")
")


")
")


My MacBook Pro Docking Setup, Surrounded by Cool LED’s
After sharing a photo of my MacBook Pro Docking setup on Instagram and Facebook, I received quite a few requests to post some information on the products in the photo. I wasn’t even expecting to get so many responses from the photo, but I was frequently complimented for the lighting and layout. Hopefully this post outlines what you’re wanting to know, for those that have asked. I also greatly appreciated your comments and feedback from when I shared the photo online!
I tend to re-arrange or reconfigure my desk every few months for my home office, and I am liking this one the best so far. Especially with the addition of the new MacBook Pro 15 with the 4 USB-C ports.
Currently, I am running the New MacBook Pro 15″ with Touch Bar. Incase you are curious, I am listing out the specs below. You can actually order a similar one from Amazon, and depending on where you are living, might save from paying tax at your local Apple Store.
Variant: MLH42LL/A
Model: MacBook Pro w/ Touch Bar (15″)
Processor:2.9GHz quad-core Intel Core i7 Turbo Boost up to 3.8GHz
GPU: Intel HD Graphics 530 + Radeon Pro 460 w/ 4GB
Color: Space Grey
Ram: 16GB
Storage: 1TB
The Best MacBoook Pro Docking Solution for USB-C
One of the reasons that inspired this new “Setup” for me was because of the introduction of USB-C into the new MacBook Pro’s from Apple. They have finally given us a way to dock to an external display, split out USB peripherals, and charge the laptop all within a single (USB-C) port. The new MacBook Pro 15, comes with 4 USB-C ports – 2 on the left, and 2 on the right side. I didn’t appreciate the hidden feature this provides for docking until I ran into the need, but you can “dock” from either side of the laptop.
For me, this has been a long time coming. I was following the USB-C announcements, ever since the news broke in 2014 about the new USB plug and interfacing possibilities. I realized along time ago, that this could really simplify and cut back on all of the charging cables I typically carry around.
So naturally, when I picked up the new MacBook Pro, I began to streamline my desk. After researching all of the different USB-C docks out there, I landed on the best solution. The USB-C Digital AV Multiport Adapter from Apple. There are plenty of MacBoook Pro Docking alternatives out there. Some that have multiple USB-C Power-In ports, display ports, ethernet ports and more. For me, this was just perfect.
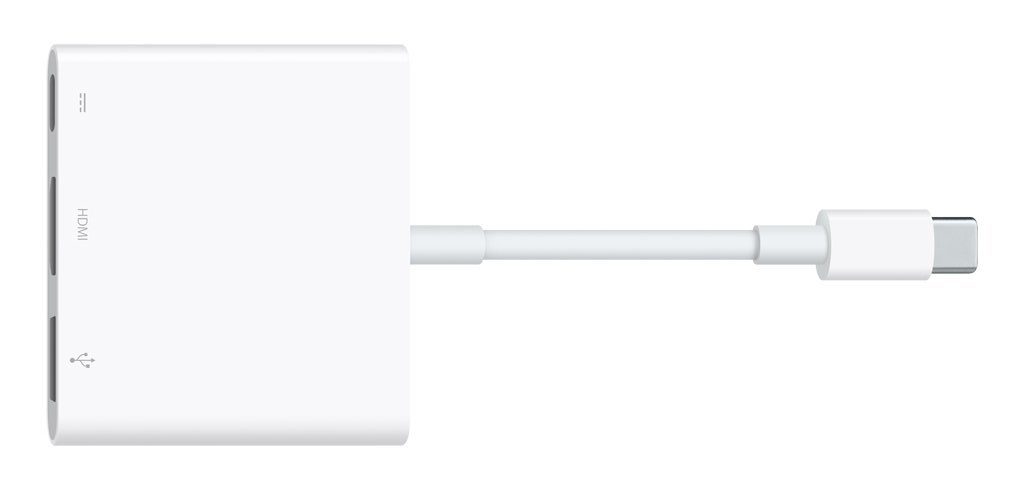
The Apple USB-C AV Multiport Adapter (long-name it seems?) isn’t really a dock, but it serves the same purpose as a dock. It’s very small or discreet, and is something you could easily tote around in your bag. It’s larger portion, while thinner, isn’t any larger than about 2 matchboxes. Does anyone ever compare matchboxes to anything anymore? Hmm…
For charging the laptop, I connect the Apple USB-C Power Adapter, into the USB-C AV Multiport Adapter, as well as a 3FT HDMI cable that plugs into my Monitor for video.
From the Monitor, I also have a USB cable running into the adapter, which then allows the Monitor to act as a Hub (since it has 5 USB Ports within it) – 1 On the back of the monitor and 4 within the back panel.
The Dell UltraSharp U2715H 27-Inch Screen LED-Lit Monitor
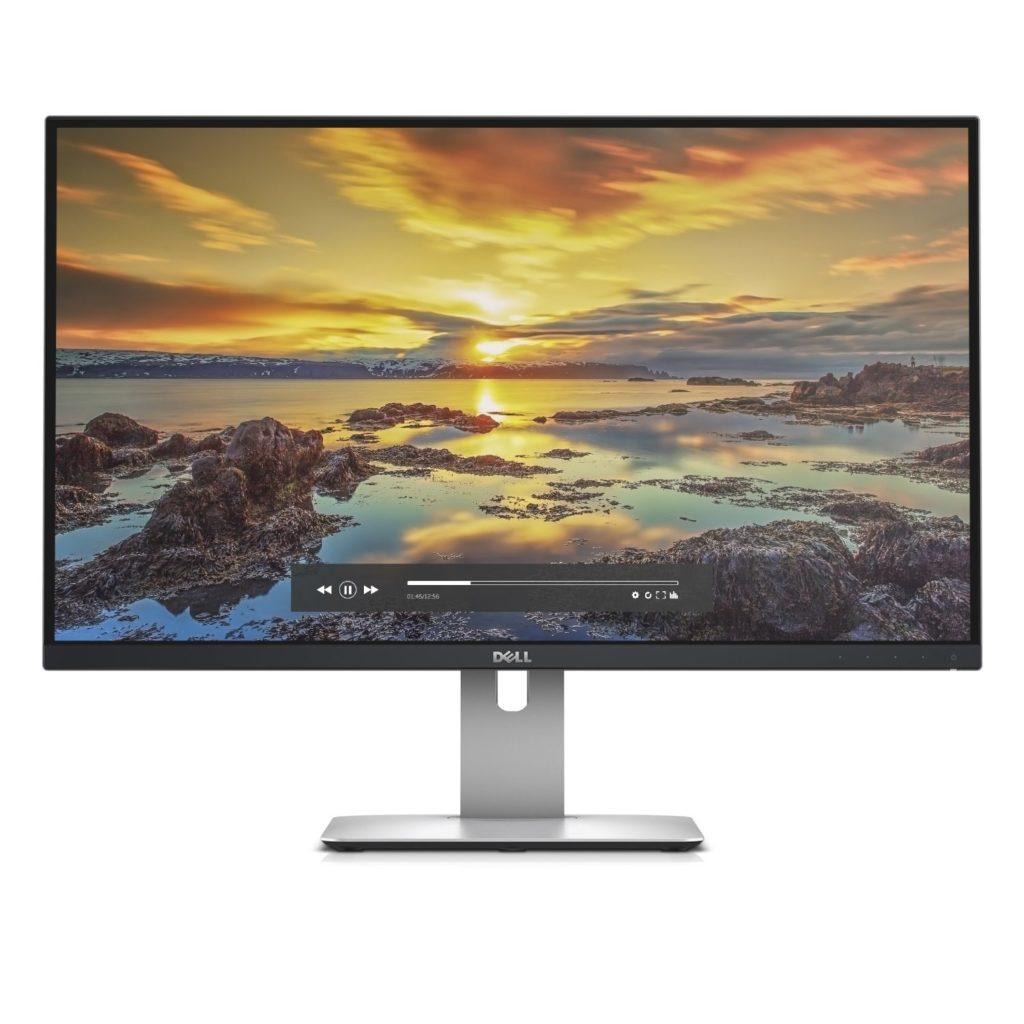
As for the Monitor, it’s one of my favorites from Dell. A thin-bezel, 27″ Display, capable of outputting 2560×1440 (QHD) lines of resolution. It supports DisplayPort 1.2, IN and OUT, HDMI IN, has a built-in USB Hub and an allows for audio line in and speaker out.
On a side note – you could always run a DisplayPort to USB-C Cable, and plug it into one of the extra MacBook Ports if you ever needed to use the HDMI port for another purpose. Additionally, if you wanted to daisy chain multiple monitors (2+ external displays connected together,) then that’s your best bet while using the USB-C AV Adapter from Apple.
Buy the Dell U2715H from Amazon
My Customized Razer BlackWidow Chroma Stealth
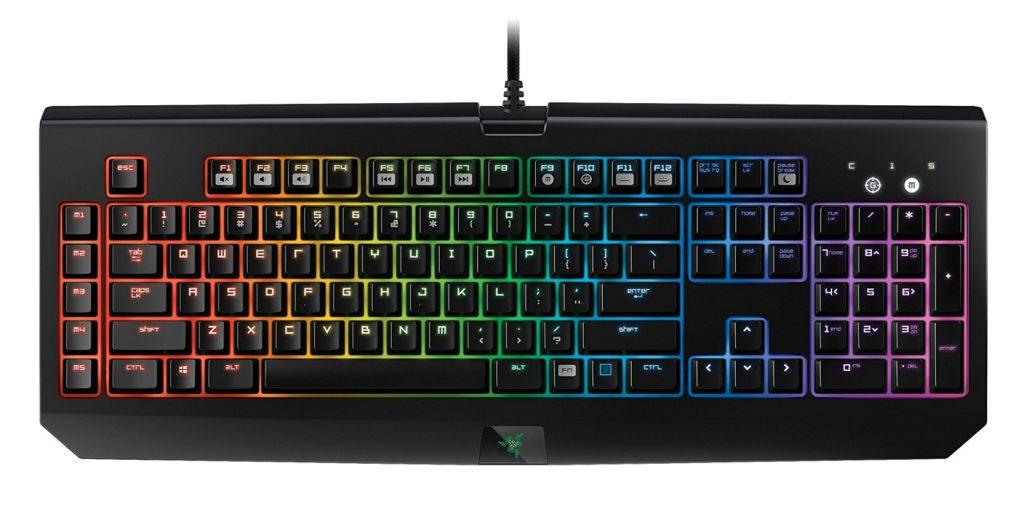
They keyboard I am running is one of the best mechanical keyboards around. No doubt about it. I tried the Razer Black Widow Chroma Compact, (the Smaller version without the 10-Key or Macro Keys) and ended up sending it back. However, that’s not to say the compact is a bad keyboard. I had just tried it and ordered the “clicky” version, not knowing any better. The “clicky” version, isn’t the “quite” version by the way…
I decided that I preferred the 10-Keys instead. So I went with the larger keyboard (as pictured above) and configured it with the Stealth (Orange) keys option inside instead. The Orange Mechanical Switches, found inside of the “Stealth” keyboard, lack the “Clicky Noise” you hear while pressing down on any key.
Unlike the non-stealth version (which include the Razer “Green” keys) have the tactile and audible “click” inside of them. The click, is appreciated by many, but for me, it was too distracting. Therefor the Stealth option was what I went for.
I took it a step further by installing O-Ring Dampeners under every key. You just need a WASD Key-Puller, the O-Rings, and about 35-45 spare minutes to complete the task.
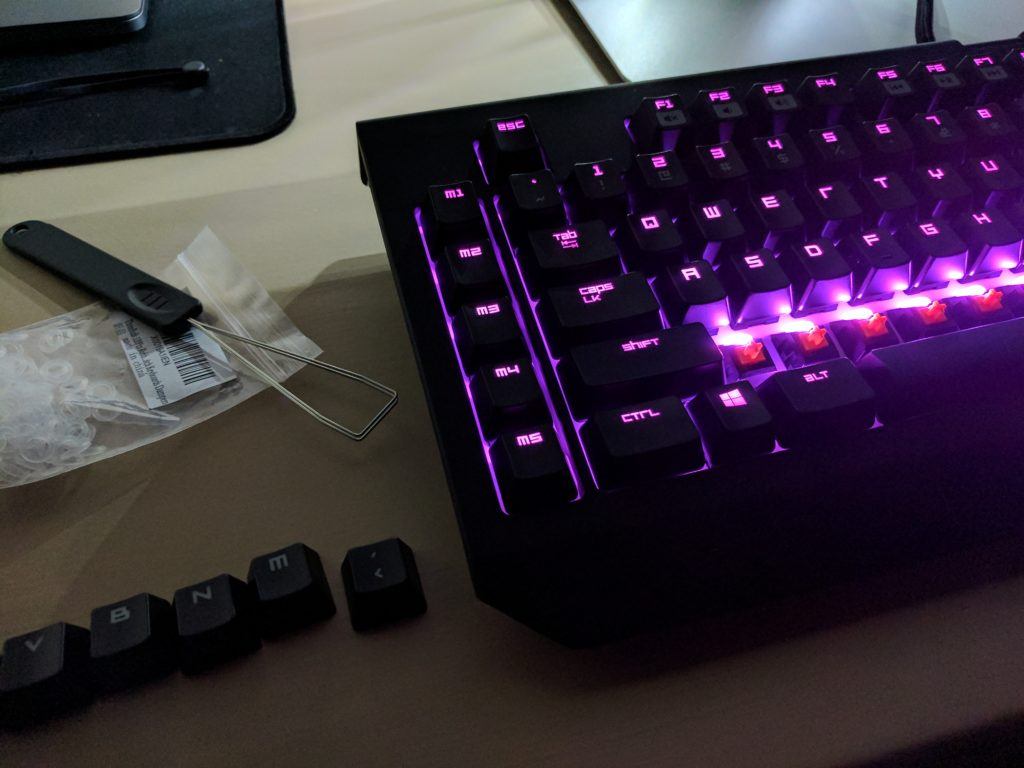
The dampeners, actually soften or dampen the sound from the key “crashing” noise when the key-press bottoms out on the keyboard. So now, I have a pretty sweet mechanical keyboard, with next to zero lag, and it’s not all that noisy. It may not be as quite as an Apple Keyboard, or the Logitech K740 (my only other favorite keyboard ever) but it’s quite enough for me.
Without going into too much further detail, the keyboard has full RGB color spectrum customization options for EVERY key. You can customize the color themes or macro functions via the bundled Razer Synapse software.
Buy the Razer BlackWidow Chroma Stealth from Amazon
Razer Mamba Chroma Wireless Gaming Mouse
The 2nd Razer product in the RGB matching theme that I have going is the best mouse currently produced by Razer. The Razer Mamba Chroma which also has the full RGB color customization options, and can run in wired or wireless mode.
Wired mice, are wired mice. They will likely always have the fastest response times, but the cable, get’s in the way, too often. That’s where wireless has the leg up. I also really like how it lights up to match the keyboard and mousepad. What’s great about this one, is that if your battery runs low while you are using the mouse, you can always plug it in and keep going.
The included charging dock, holds the Razer Mamba while not in use. The same semi-proprietary Micro-USB cable that powers the dock, can be removed and can plug right into the mouse itself. Luckily, you won’t need to run two separate cables to pull this off – it’s just a well thought out feature from Razer.
Buy the Razer Mamba Chroma Wireless from Amazon
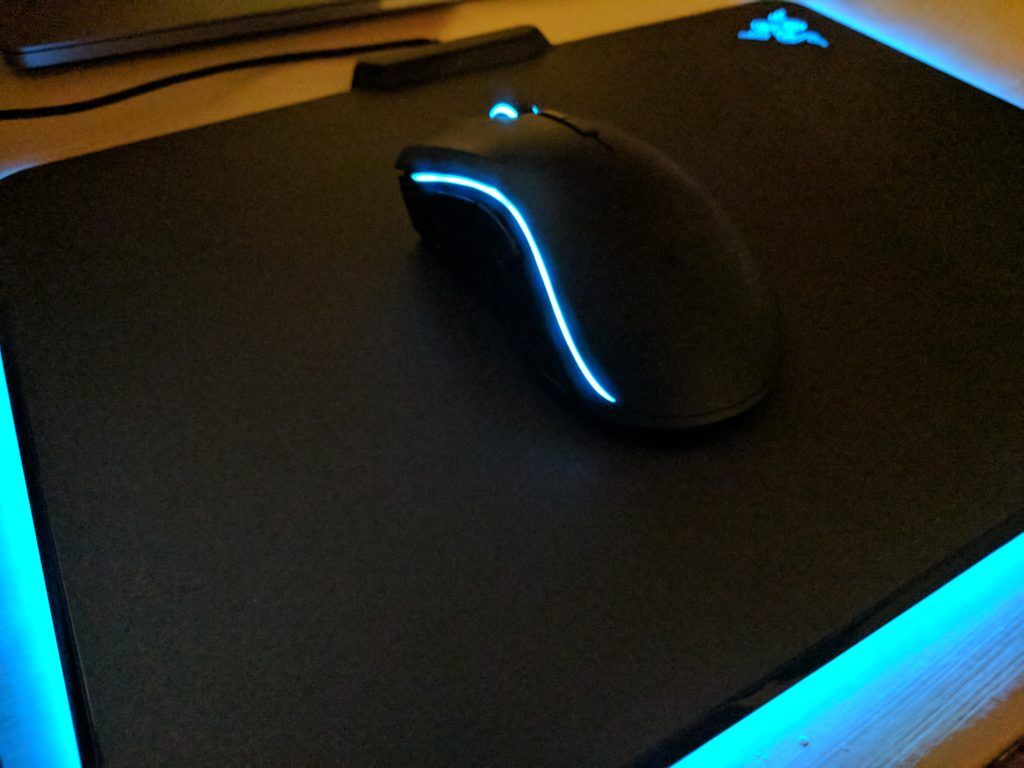
Razer FireFly Chroma Gaming Mousepad
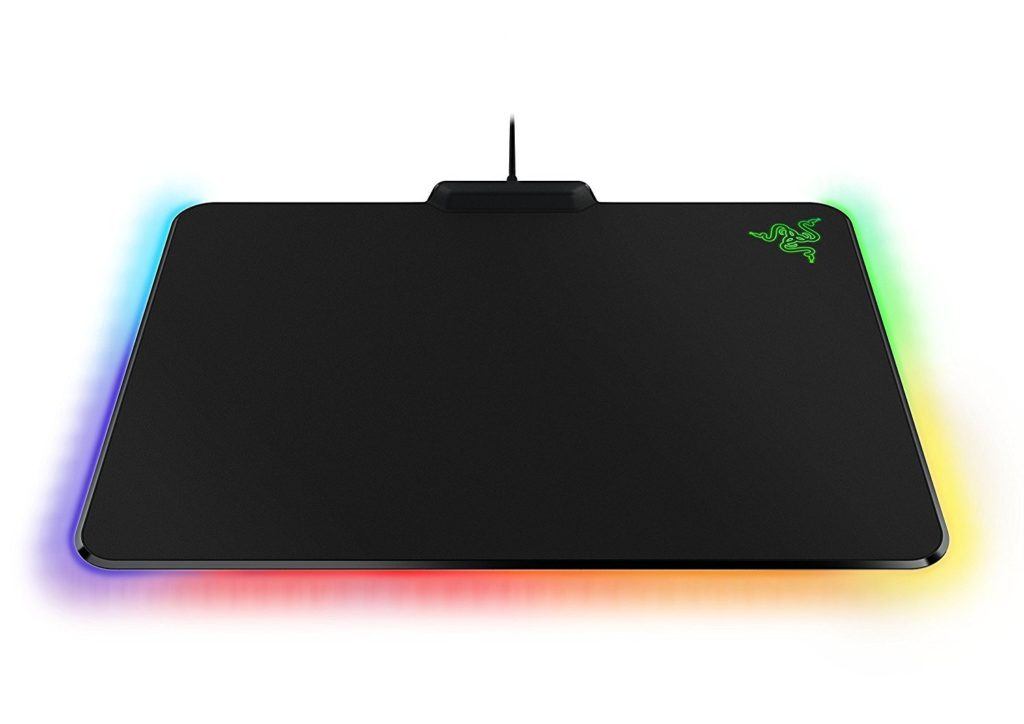
The 3rd and final product I am currently running in the theme, is the Razer FireFly Mousepad. It’s a really tricked out mousepad that comes in both soft-touch, and hard-touch plastic variants. They give you two choices to choose from. If you want the tighter mouse movement “control,” then go for the soft variant over the “hard.” The hard surface variant will give you faster and looser movement on the mousepad.
I feel as if the softer option, puts less wear or strain on your wrists for whatever reason. Logically it makes sense, but they are both firm surfaces, so I am not exactly sure if I can back that up, but either way. I am more comfortable using and really enjoy the Razer FireFly “Soft” version.
Buy the Razer FireFly from Amazon.
The Rest of the Gadgets & Accessories
As you can see, it’s quite a minimal setup. It doesn’t take much to get a look like what is pictured at the beginning of this post. Before finishing up here, I wanted to mention a few more products that you may have noticed in the photo.
For the ambient lighting coming from behind the Dell U2715H monitor, I have a USB-LED Strip. It’s not dimmable, but is one of the cheapest and easiest-to-apply options out there. It plugs right into the 1 extra USB Port, found on the back of the monitor. So, when I turn my monitor on, the LED Strip illuminates, and vice-versa for when I turn the monitor, “off.”
You may have spotted a Samsung Galaxy Tab S2, which is the latest Tab S2 refresh (SM-T713) currently available from Samsung. Next to it, you will see an Unlocked iPhone 7 32GB (in Black) connected up to the world via T-Mobile.
What you actually do not see in the photo, (I just put it back into place under the monitor after taking the shot,) was my Samsung Wireless Charger. I use that wireless charger to keep my Google Pixel XL and the iPhone 7 charged up.
Lastly, you might have spotted something dangling from the top left cabinets in the photo. That’s my PowerBeats 3, wireless sports headphones.
If you’ve enjoyed this post or have found it to be helpful, I would greatly appreciate you sharing this write-up online with friends! Let me know if you have any questions or comments below!
")

